How to Replace Motorcycle Chain and Sprockets: A Step-by-Step Guide
Replacing the chain and sprockets on a motorcycle is an essential maintenance task that helps to ensure a smooth and safe ride. Over time, these components can wear down, leading to decreased performance and potential safety hazards. However, with the right tools and knowledge, replacing these parts can be a straightforward process that can be completed at home.

Understanding the function and maintenance of motorcycle chains and sprockets is the first step in successfully replacing them. Chains and sprockets work together to transfer power from the engine to the rear wheel, and both components can wear down over time due to regular use. Regular maintenance, such as cleaning and lubricating the chain, can help prolong their lifespan, but eventually, they will need to be replaced.
Key Takeaways
- Regular maintenance of motorcycle chains and sprockets can help prolong their lifespan.
- Replacing these components is an essential maintenance task for a smooth and safe ride.
- With the right tools and knowledge, replacing motorcycle chains and sprockets can be a straightforward process that can be completed at home.
Understanding Motorcycle Chains and Sprockets

A motorcycle chain and sprockets are essential components of a motorcycle’s drivetrain system. They work together to transfer power from the engine to the rear wheel. Understanding how these components work is crucial for maintaining and replacing them.
Motorcycle Chains
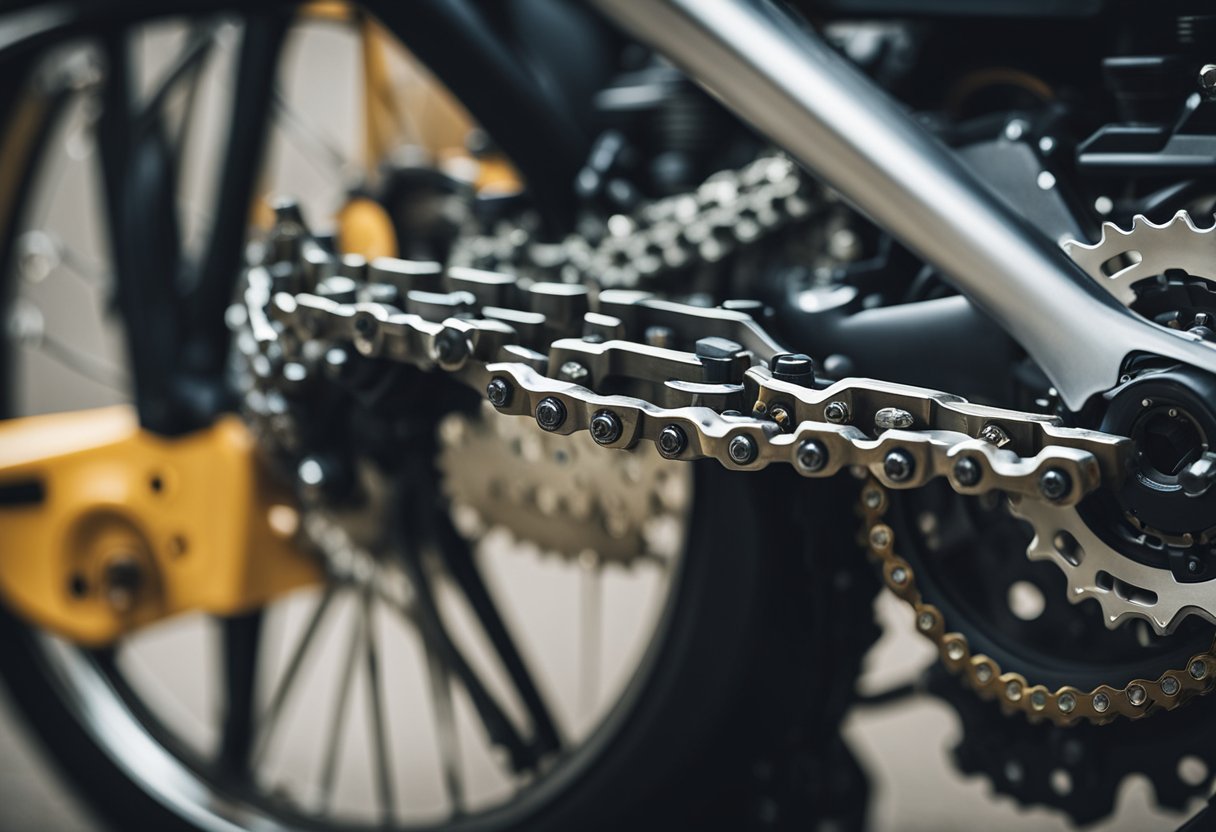
Motorcycle chains come in different sizes and types, but they all serve the same purpose. They transfer power from the engine to the rear wheel by engaging with the teeth on the sprockets. The most common type of motorcycle chain is the roller chain, which is made up of inner and outer plates, pins, rollers, and bushings.
To ensure a long lifespan for your chain, it’s important to keep it clean and lubricated. Dirt and grime can cause premature wear, while lack of lubrication can cause the chain to bind and even break. Regularly inspecting the chain for wear and stretching is also important. A stretched chain can cause poor performance and even damage to the sprockets.
Sprockets
Sprockets are circular discs with teeth that engage with the chain. They come in different sizes and tooth counts, which affect the motorcycle’s gearing ratio and performance. The front sprocket, also known as the countershaft sprocket, is connected to the engine’s output shaft, while the rear sprocket is connected to the rear wheel.
Like the chain, sprockets need to be inspected regularly for wear. Worn sprockets can cause the chain to skip teeth, which can be dangerous while riding. It’s also important to ensure that the teeth on both the front and rear sprockets are in good condition and not excessively worn or bent.
In conclusion, understanding how motorcycle chains and sprockets work is essential for maintaining and replacing them. Regular inspection, cleaning, and lubrication can help prolong their lifespan and ensure optimal performance.
Tools and Materials Needed

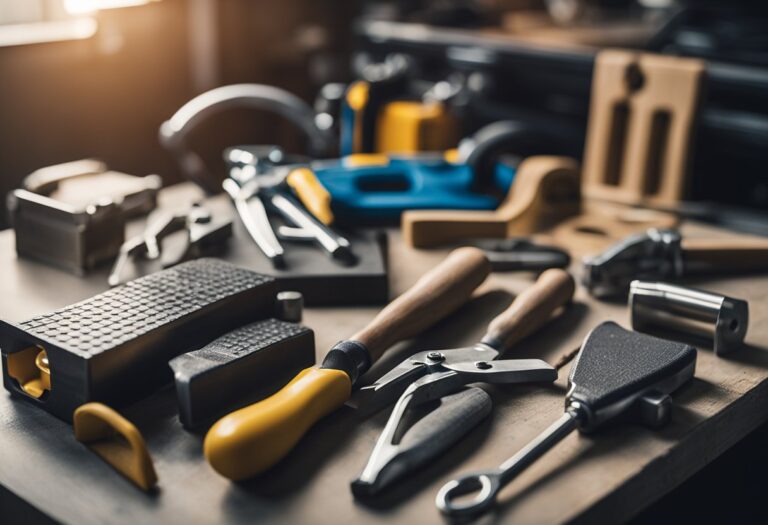
Replacing a motorcycle chain and sprockets requires a few specialized tools and materials. Here’s a list of everything you’ll need to get the job done:
- Chain breaker tool: A chain breaker tool is essential for breaking the old chain and installing the new one. This tool allows you to push out the pins that hold the links together, making it easy to remove the old chain and shorten the new one to the correct length.
- Socket wrench set: You’ll need a socket wrench set to remove the bolts that hold the sprockets in place. Make sure you have a set that includes sockets in the correct sizes for your bike’s sprockets.
- Torque wrench: A torque wrench is necessary for tightening the bolts that hold the sprockets in place. This ensures that the bolts are tightened to the manufacturer’s recommended torque specifications, which is important for safety and performance.
- Chain lubricant: It’s important to use a high-quality chain lubricant to keep your new chain running smoothly and prevent premature wear. Look for a lubricant that’s specifically designed for motorcycle chains and follow the manufacturer’s instructions for application.
- Rear stand: A rear stand is helpful for supporting the bike during the chain and sprocket replacement process. This allows you to easily rotate the rear wheel and access the sprockets and chain.
- Safety glasses and gloves: Safety glasses and gloves are important for protecting your eyes and hands during the chain and sprocket replacement process. Make sure you wear them throughout the entire process to prevent injury.
With these tools and materials on hand, you’ll be well-equipped to replace your motorcycle’s chain and sprockets with confidence.
Preparation for Replacement

Safety Precautions
Before starting the process of replacing the motorcycle chain and sprockets, it is important to take necessary safety precautions. The following measures should be taken to ensure safety:
- Wear safety glasses and gloves to protect your eyes and hands from any debris or sharp edges.
- Make sure the motorcycle is on a level surface to avoid any accidents.
- Turn off the engine and remove the key from the ignition to prevent any accidental starts.
Motorcycle Positioning
The motorcycle must be positioned in such a way that it is easy to work on. The following steps should be taken to position the motorcycle:
- Place the motorcycle on a center stand or paddock stand to keep it stable.
- If a center stand or paddock stand is not available, use a rear stand to keep the motorcycle in an upright position.
- If none of the above stands are available, lean the motorcycle against a wall or a sturdy object to keep it stable.
Removing the Chain Guard
The chain guard must be removed before starting the replacement process. The following steps should be taken to remove the chain guard:
- Locate the bolts that hold the chain guard in place.
- Use a socket wrench to remove the bolts.
- Carefully remove the chain guard and keep it aside.
By following these preparation steps, the replacement process can be carried out safely and efficiently.
Removing the Old Chain and Sprockets

Loosening the Rear Axle
Before removing the old chain and sprockets, it is important to loosen the rear axle. To do this, the rider must first remove the rear wheel from the motorcycle. Once the wheel is removed, the rider can loosen the rear axle nut using a socket wrench. It is important to note that the rider should not completely remove the nut at this point, but only loosen it enough to allow the axle to move.
Detaching the Chain
After loosening the rear axle, the rider can detach the old chain from the motorcycle. This can be done by using a chain breaker tool to break the chain at any link. Once the chain is broken, it can be removed from the motorcycle.
Removing the Front Sprocket
With the chain removed, the rider can move on to removing the front sprocket. This can be done by removing the bolts that hold the sprocket in place using a socket wrench. Once the bolts are removed, the front sprocket can be easily taken off.
Removing the Rear Sprocket
Finally, the rider can remove the rear sprocket. This can be done by removing the bolts that hold the sprocket in place using a socket wrench. Once the bolts are removed, the rear sprocket can be easily taken off.
It is important to note that the rider should carefully inspect the old chain and sprockets for any signs of wear or damage before disposing of them. If any damage is found, it is recommended that the rider replace the affected parts before installing the new chain and sprockets.
Installing the New Sprockets

Mounting the Front Sprocket
The first step in installing the new sprockets is to mount the front sprocket. This is typically located on the left side of the motorcycle’s engine. Begin by removing the old front sprocket and cleaning any debris or dirt from the area. Then, take the new front sprocket and align it with the splines on the output shaft. Make sure it is properly seated and secure it in place with the retaining bolt. Tighten the bolt to the manufacturer’s recommended torque specification.
Mounting the Rear Sprocket
Next, it’s time to mount the new rear sprocket. Start by removing the old sprocket and cleaning the area. Then, take the new sprocket and align it with the wheel hub. Make sure it is properly seated and secure it in place with the retaining bolts. Tighten the bolts to the manufacturer’s recommended torque specification.
Tightening Sprocket Bolts
Once both sprockets are mounted, it’s important to properly tighten the sprocket bolts. This helps ensure the sprockets stay in place and prevent any potential accidents. Use a torque wrench to tighten the bolts to the manufacturer’s recommended torque specification. Make sure to evenly distribute the torque across all bolts.
Overall, installing new sprockets can be a straightforward process with the right tools and knowledge. By following these steps and using proper torque specifications, riders can ensure their motorcycle’s chain and sprockets stay in good condition for longer periods of time.
Installing the New Chain

Threading the Chain
To begin installing the new chain, the old chain must first be removed. Once the old chain has been removed, the new chain can be threaded onto the motorcycle. It is important to ensure that the chain is properly aligned with the sprockets before proceeding.
Connecting the Chain Links
The new chain will come with a master link that needs to be connected. This can be done using a chain tool or pliers. It is important to ensure that the master link is properly installed and secure before proceeding.
Adjusting Chain Tension
Once the new chain has been installed and connected, the chain tension needs to be adjusted. This can be done by adjusting the rear axle or using a chain tensioner tool. It is important to ensure that the chain tension is within the manufacturer’s recommended specifications for optimal performance and safety.
Overall, installing a new motorcycle chain can be a straightforward process with the right tools and knowledge. It is important to take the time to ensure that the chain is properly installed and adjusted for optimal performance and safety.
Final Checks and Test Ride

Inspecting the Installation
Before taking the motorcycle for a test ride, it is important to inspect the installation of the new chain and sprockets. Check to ensure that the chain is properly aligned and tensioned. The chain should have a little bit of slack, but not too much. Use a chain tension tool if necessary to adjust the tension.
Inspect the sprockets for wear and damage. Make sure that the teeth are evenly spaced and not worn down. Check the front and rear sprockets to ensure that they are properly aligned with each other.
Lubricating the Chain
After installing the new chain and sprockets, it is important to lubricate the chain. Apply a high-quality chain lubricant to the chain, making sure to cover all of the links. Allow the lubricant to dry for a few minutes before wiping off any excess with a clean rag.
Conducting a Safety Test Ride
Before hitting the road, take the motorcycle for a short test ride to ensure that everything is working properly. Start with a slow ride in a safe area, testing the brakes, throttle, and clutch. Gradually increase the speed and test the shifting through all gears.
During the test ride, pay attention to any unusual noises or vibrations. If anything seems off, stop immediately and inspect the chain and sprockets again.
By following these final checks and conducting a safety test ride, riders can ensure that their motorcycle chain and sprockets are properly installed and functioning.
Maintenance Tips for Longevity

Regular Cleaning
Regular cleaning is crucial to maintaining a motorcycle chain and sprockets. Dirt, debris, and grime can accumulate on the chain and sprockets, leading to premature wear and tear. A simple way to clean the chain is to use a soft-bristled brush and a mild degreaser. The chain should be cleaned after every ride, or at least once a week.
Proper Lubrication
Proper lubrication is essential to the longevity of a motorcycle chain and sprockets. Lubrication helps to reduce friction and wear, and it also helps to protect against rust and corrosion. It is recommended to use a high-quality lubricant specifically designed for motorcycle chains. The chain should be lubricated every 300 to 500 miles, or after riding in wet or dusty conditions.
Chain Tension Monitoring
Chain tension is another important factor in maintaining a motorcycle chain and sprockets. A loose chain can cause excessive wear and tear on the sprockets, while a tight chain can cause damage to the chain and the engine. The chain tension should be checked regularly, and adjusted as necessary. The recommended chain tension can be found in the motorcycle’s owner’s manual.
By following these maintenance tips, a motorcycle chain and sprockets can last for thousands of miles. Regular cleaning, proper lubrication, and chain tension monitoring are all crucial to the longevity of the motorcycle chain and sprockets.
Frequently Asked Questions

What tools are required for replacing a motorcycle chain and sprockets?
To replace a motorcycle chain and sprockets, you will need a few basic tools, including a socket set, a torque wrench, a chain breaker tool, and a riveting tool. You may also need a rear stand or a paddock stand to lift the rear wheel of the motorcycle off the ground.
Can you change just the chain or just the sprockets, or should both be replaced together?
While it is possible to replace just the chain or just the sprockets, it is generally recommended to replace both components together. This is because the wear patterns of the chain and sprockets are interdependent, and replacing just one component can lead to premature wear and failure of the other.
What are the steps involved in changing a motorcycle’s rear sprocket?
To change a motorcycle’s rear sprocket, you will need to remove the rear wheel, remove the old sprocket, install the new sprocket, and then reinstall the wheel. This process can vary depending on the specific make and model of the motorcycle, so it is important to consult the manufacturer’s instructions or a professional mechanic for guidance.
How can you determine when it’s time to replace your motorcycle’s chain and sprockets?
The most common signs of wear on a motorcycle chain and sprockets include rust, kinks, and excessive slack in the chain. You may also notice a decrease in performance or acceleration, or hear unusual noises coming from the chain or sprockets. It is recommended to inspect the chain and sprockets regularly and replace them as needed based on their condition.
What is the typical cost range for professional chain and sprocket replacement on a motorcycle?
The cost of professional chain and sprocket replacement on a motorcycle can vary depending on the make and model of the motorcycle, as well as the location and experience of the mechanic. On average, this service can cost anywhere from $200 to $500.
Are there any special considerations to keep in mind when changing the chain and sprockets on a motorcycle?
When changing the chain and sprockets on a motorcycle, it is important to use high-quality replacement parts that are compatible with the make and model of the motorcycle. It is also important to properly lubricate the new chain and sprockets to ensure optimal performance and longevity. Additionally, it is recommended to consult the manufacturer’s instructions or a professional mechanic for guidance on the specific steps involved in the replacement process.
