Tuning and Syncing Motorcycle Carburetors: A Comprehensive Guide
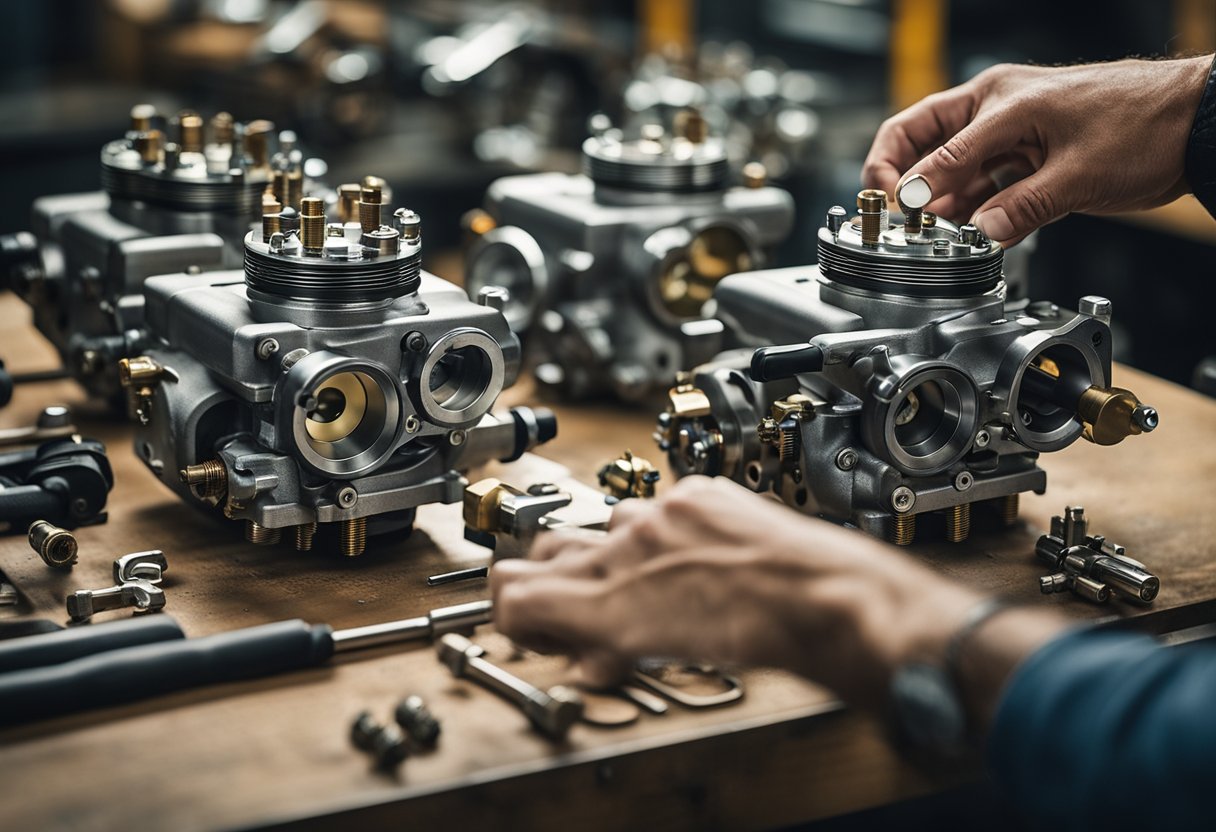
Tuning and syncing motorcycle carburetors is an essential maintenance task that every motorcycle owner should undertake regularly. Carburetors are responsible for mixing fuel and air in the right proportions for combustion. Over time, they can become clogged with dirt and debris, leading to poor fuel efficiency and reduced performance. Tuning and syncing the carburetors can improve the motorcycle’s performance, fuel efficiency, and throttle response.

Understanding carburetors is the first step towards tuning and syncing them. Carburetors have various components, including the throttle valve, needle valve, main jet, and idle jet. Each component plays a crucial role in regulating the fuel-air mixture. Basic knowledge of these components is essential to diagnose and troubleshoot any carburetor-related problems. Once you understand the basics, you can proceed to tune and sync the carburetors using the appropriate tools and techniques.
Key Takeaways
- Understanding the basics of carburetors is crucial before attempting to tune and sync them.
- Proper tools and techniques are necessary for successful carburetor tuning and syncing.
- Regular maintenance of tuned carburetors is essential to ensure optimal performance and fuel efficiency.
Understanding Carburetors

Functions of a Motorcycle Carburetor
A motorcycle carburetor is a device that mixes air and fuel in the correct ratio for combustion in the engine. The carburetor is an essential component of a motorcycle’s fuel system, and it performs several functions.
Firstly, the carburetor regulates the flow of air and fuel into the engine. It controls the amount of fuel that enters the engine, which is determined by the throttle position. Secondly, the carburetor atomizes the fuel, breaking it down into tiny droplets that mix with the air. This process creates a highly combustible mixture that ignites easily when the spark plug fires.
The carburetor also provides a means of adjusting the air/fuel mixture to suit different riding conditions. This is achieved through the use of adjustable jets and needles, which allow the rider to fine-tune the carburetor for optimal performance.
Components of the Carburetor
A typical motorcycle carburetor consists of several components, each with a specific function. These components include:
- Throttle: This controls the amount of air and fuel that enters the engine by adjusting the size of the opening in the carburetor.
- Float bowl: This contains a float and needle valve that regulate the flow of fuel into the carburetor.
- Jets: These are small orifices that control the flow of fuel into the carburetor. They are available in different sizes to allow for adjustments to the air/fuel mixture.
- Needle: This is a tapered rod that slides in and out of the main jet to control the flow of fuel.
- Idle circuit: This provides a small amount of fuel to the engine when the throttle is closed.
- Choke: This restricts the flow of air to the carburetor to create a richer fuel mixture for starting the engine in cold conditions.
Understanding the functions and components of a motorcycle carburetor is essential for proper tuning and syncing. By knowing how the carburetor works, riders can make adjustments to improve performance and fuel efficiency.
Basics of Carburetor Tuning

Air-Fuel Ratio
One of the most important aspects of carburetor tuning is setting the correct air-fuel ratio. This ratio is the amount of air to fuel that is mixed in the carburetor before being delivered to the engine. A lean mixture (too much air, not enough fuel) can cause the engine to run hot and potentially cause damage, while a rich mixture (too much fuel, not enough air) can cause poor performance and waste fuel.
To adjust the air-fuel ratio, the carburetor typically has a screw or screws that control the amount of fuel entering the carburetor. These screws are often labeled as the idle mixture screw and the main jet adjustment screw. The ideal air-fuel ratio varies depending on the make and model of the motorcycle, but a general rule of thumb is a ratio of 14.7:1 (air to fuel) for maximum power and fuel efficiency.
Throttle Position
Another important aspect of carburetor tuning is adjusting the throttle position. The throttle controls the amount of air entering the carburetor, which in turn affects the air-fuel ratio. When the throttle is closed (at idle), the idle mixture screw is used to adjust the air-fuel ratio. When the throttle is opened (accelerating), the main jet adjustment screw is used to adjust the air-fuel ratio.
To properly adjust the throttle position, the carburetor typically has a throttle stop screw. This screw is used to set the idle speed of the engine. If the idle speed is too high or too low, it can cause poor performance and potentially damage the engine. It is important to follow the manufacturer’s specifications when adjusting the throttle position.
Overall, tuning and syncing motorcycle carburetors can be a complex process, but by understanding the basics of air-fuel ratio and throttle position, riders can achieve optimal performance and fuel efficiency from their motorcycles.
Tools Required for Tuning and Syncing

Tuning and syncing a motorcycle carburetor requires a specific set of tools to ensure the process is done correctly. Here are the essential tools that one should have before starting the procedure:
1. Carburetor Synchronizer
A carburetor synchronizer is a tool that helps to balance the airflow between the carburetors. It is a crucial tool for synchronizing multiple carburetors and ensuring that they work together in harmony. A synchronizer typically consists of a set of gauges that measure the vacuum pressure in each carburetor. It is essential to use a good quality synchronizer to get accurate readings.
2. Vacuum Gauge
A vacuum gauge is another important tool required for tuning and syncing motorcycle carburetors. It is used to measure the vacuum pressure in each carburetor. A vacuum gauge is attached to the intake manifold to measure the pressure. It is crucial to use a good quality vacuum gauge to get accurate readings.
3. Wrench Set
A wrench set is a must-have tool for tuning and syncing motorcycle carburetors. It is used to remove and tighten the carburetor bolts. A good quality set of wrenches is essential to prevent any damage to the carburetor bolts.
4. Screwdriver Set
A screwdriver set is another essential tool required for tuning and syncing motorcycle carburetors. It is used to adjust the carburetor screws. A good quality set of screwdrivers is essential to prevent any damage to the screws.
5. Carburetor Cleaner
Carburetor cleaner is used to clean the carburetors before tuning and syncing. It is essential to use a good quality carburetor cleaner to ensure that the carburetors are thoroughly cleaned.
In conclusion, having the right tools is crucial for tuning and syncing motorcycle carburetors. It is essential to use good quality tools to ensure that the process is done correctly and accurately.
Preparing the Motorcycle for Tuning

Safety Precautions
Before starting any work on the motorcycle, it is important to take necessary safety precautions. This includes wearing protective gear such as gloves, eye protection, and a dust mask. It is also recommended to work in a well-ventilated area to avoid inhaling harmful fumes.
Additionally, ensure that the motorcycle is placed on a stable and level surface to prevent it from toppling over during the tuning process. It is also important to disconnect the battery to avoid any electrical mishaps.
Initial Setup
To prepare the motorcycle for tuning, the first step is to clean the carburetor thoroughly. This involves removing the carburetor from the motorcycle and disassembling it. All the components should be cleaned with carburetor cleaner and a soft-bristled brush.
After cleaning, reassemble the carburetor and make sure all the components are properly aligned. Check for any signs of damage or wear and replace any damaged parts before proceeding with the tuning process.
It is also important to ensure that the motorcycle is warmed up to operating temperature before starting the tuning process. This can be done by running the engine for a few minutes or by taking the motorcycle for a short ride.
By following these safety precautions and initial setup steps, the motorcycle is now ready for tuning and syncing of the carburetor.
Synchronizing Multiple Carburetors

When it comes to tuning and syncing motorcycle carburetors, synchronizing multiple carburetors is an important step that cannot be overlooked. This process involves balancing the airflow between the carburetors to ensure that the engine is running smoothly and efficiently. In this section, we will discuss the two main aspects of synchronizing multiple carburetors: balancing airflow and adjusting the throttle cables.
Balancing Airflow
Balancing airflow is crucial to ensure that each cylinder is receiving the same amount of air and fuel mixture. To do this, a vacuum gauge is used to measure the vacuum pressure in each carburetor. The process involves adjusting the idle speed screw and mixture screw while monitoring the vacuum pressure in each carburetor.
One effective method for balancing airflow is to use a mercury manometer. This tool provides a visual representation of the vacuum pressure in each carburetor, allowing for precise adjustments to be made. It is important to note that incorrect adjustments can lead to poor engine performance, so it is recommended to seek the advice of a professional mechanic if you are unsure about the process.
Adjusting the Throttle Cables
The throttle cables are responsible for controlling the amount of air and fuel mixture that enters the engine. If one carburetor is opening faster than the other, it can cause an imbalance in the airflow. Adjusting the throttle cables is essential to ensure that the carburetors are opening and closing at the same rate.
To adjust the throttle cables, start by loosening the locknuts on each cable. Then, adjust the cable tension until both carburetors are opening and closing at the same rate. It is important to check the throttle cable adjustment periodically to ensure that the carburetors remain in sync.
In conclusion, synchronizing multiple carburetors is an important step in tuning a motorcycle’s carburetor system. By balancing airflow and adjusting the throttle cables, you can ensure that the engine is running smoothly and efficiently. It is recommended to seek the advice of a professional mechanic if you are unsure about the process.
Adjusting the Idle Mixture

Locating the Mixture Screws
Before adjusting the idle mixture, it’s important to locate the mixture screws on the carburetor. These screws are usually located on the bottom of the carburetor and are used to adjust the air/fuel mixture at idle.
To locate the screws, consult the motorcycle’s owner’s manual or a service manual. The location may vary depending on the make and model of the motorcycle.
Once you have located the screws, it’s important to make note of their position before making any adjustments. This will allow you to return them to their original position if necessary.
Setting the Correct Idle
To adjust the idle mixture, start by warming up the motorcycle to its normal operating temperature. Then, turn the idle speed screw to set the idle speed to the manufacturer’s recommended specification.
Next, turn the mixture screws in or out until the highest idle speed is achieved. Once the highest idle speed is achieved, turn the screws back in until the idle speed drops slightly.
It’s important to make small adjustments to the mixture screws and to wait a few seconds between adjustments to allow the engine to respond. This will ensure that the adjustments are accurate and effective.
Finally, recheck the idle speed and adjust the idle speed screw if necessary to achieve the manufacturer’s recommended specification.
By following these steps, the idle mixture can be adjusted to ensure optimal performance and fuel efficiency.
Fine-Tuning the Carburetors

Main Jet Adjustment
The main jet is responsible for delivering fuel to the engine at high speeds. To adjust the main jet, the rider needs to remove the carburetor’s bowl and locate the main jet. The rider can then replace the main jet with a larger or smaller one to adjust the fuel flow. A larger main jet will allow more fuel to flow, while a smaller one will restrict the flow. The rider should make small adjustments and test the results before making further changes.
Pilot Jet Tuning
The pilot jet controls the fuel flow at low speeds. To adjust the pilot jet, the rider needs to locate the pilot jet screw on the carburetor. The rider can then turn the screw clockwise to reduce fuel flow or counterclockwise to increase it. The rider should make small adjustments and test the results before making further changes.
Needle Clip Positioning
The needle controls the fuel flow at mid-range speeds. To adjust the needle, the rider needs to locate the needle clip on the carburetor. The rider can then move the clip up or down to adjust the fuel flow. Moving the clip down will allow more fuel to flow, while moving it up will restrict the flow. The rider should make small adjustments and test the results before making further changes.
Fine-tuning the carburetors is essential for optimal motorcycle performance. By adjusting the main jet, pilot jet, and needle clip, the rider can achieve a smooth and efficient ride. It is important to make small adjustments and test the results before making further changes to avoid damaging the engine.
Testing and Troubleshooting

Bench Testing
Before road testing, it’s important to perform a bench test to ensure that the carburetor is functioning properly. Start by checking the float height and adjusting it if necessary. Then, check the throttle slide for proper operation and ensure that the idle speed screw is adjusted correctly. Finally, check the needle and seat for proper operation and adjust if necessary.
Road Testing
Road testing is an essential step in tuning and syncing motorcycle carburetors. Start by warming up the engine and then take the motorcycle for a ride. During the ride, pay attention to throttle response and acceleration. If there are any issues, adjust the carburetor accordingly.
Identifying Common Issues
There are several common issues that can arise when tuning and syncing motorcycle carburetors. One of the most common issues is a lean or rich condition. This can be identified by checking the spark plug color. A white or light gray color indicates a lean condition, while a dark brown or black color indicates a rich condition. Another common issue is a bogging or hesitation when accelerating. This can be caused by a number of factors, including a clogged jet or dirty air filter.
By following these testing and troubleshooting steps, you can ensure that your motorcycle carburetor is functioning properly and running at its best.
Maintenance of Tuned Carburetors

After tuning and syncing motorcycle carburetors, it is important to perform regular maintenance to ensure optimal performance and longevity. Here are some key maintenance tasks to keep in mind:
1. Regular Cleaning
Carburetors are prone to accumulating dirt, debris, and other contaminants over time. Regular cleaning can help prevent clogs and other issues that can affect performance. It is recommended to clean the carburetors at least once a year or more frequently if the motorcycle is ridden in dusty or dirty conditions.
2. Inspection of Gaskets and Seals
Gaskets and seals are critical components that help ensure proper fuel delivery and prevent leaks. Over time, these components can wear out and require replacement. It is important to inspect the gaskets and seals regularly and replace them as needed to prevent fuel leaks and other issues.
3. Adjustment of Idle and Air-Fuel Mixture
Even after tuning and syncing the carburetors, it is possible for the idle and air-fuel mixture to become misaligned over time. Regular adjustment of these settings can help maintain optimal performance and prevent issues such as stalling or poor fuel economy.
4. Lubrication of Throttle and Choke Cables
Throttle and choke cables can become stiff or sticky over time, which can affect performance and make it difficult to operate the motorcycle. Regular lubrication of these cables can help ensure smooth operation and prevent issues such as sticking or binding.
By following these maintenance tasks, motorcycle owners can help ensure that their tuned and synced carburetors continue to perform optimally over the long term.
Frequently Asked Questions

How do I know if my motorcycle carbs are out of sync?
There are a few signs that your motorcycle carbs may be out of sync. One common sign is uneven idling or a rough running engine. If you notice that your motorcycle is running poorly, it may be time to check the carburetors.
What is the purpose of synchronizing the carburetors?
The purpose of synchronizing the carburetors is to ensure that each cylinder is receiving the same amount of fuel and air mixture. This helps to improve the overall performance of the motorcycle, as well as increase fuel efficiency.
How much does it cost to sync carbs on a motorcycle?
The cost of syncing carbs on a motorcycle can vary depending on the make and model of the motorcycle, as well as the location and the mechanic performing the work. On average, however, you can expect to pay anywhere from $50 to $200 for this service.
How to sync motorcycle carbs without a manometer?
While it is recommended to use a manometer to sync motorcycle carbs, it is possible to do it without one. One method involves using a vacuum gauge to balance the airflow between the carburetors. Another method involves using a homemade tool called a “carb stix” to balance the airflow.
What tools are required for syncing motorcycle carburetors?
To sync motorcycle carburetors, you will need a few basic tools, including a manometer, a screwdriver, and a wrench. Some additional tools that may be helpful include a vacuum gauge, a carburetor synchronizer, and a carburetor adjustment tool.
How to tune up carburetor on a motorcycle?
To tune up the carburetor on a motorcycle, you will need to adjust the air and fuel mixture. This can be done by adjusting the idle speed screw and the air/fuel mixture screw. It is important to follow the manufacturer’s instructions and recommendations when tuning up the carburetor.
